
Kall Fimbulbringer is a 3-phase fight totalling 52,800 health you have to remove, with the final phase alone holding 30,000 of it.
It resists pierce, fire, frost and lightning; spirit does nothing to it at all. Blunt and slash land at full damage, so that is what to bring.
Its hardest hit is chain rush at 125 blunt and 125 pierce, out of 14 attacks.
Some of what it throws is elemental, so fire and frost resistance is worth having.
Of everything craftable,  Thunderblood Sledge,
 Frostfire Sledge and
 Thunderblood Greatsword put the most damage through what it resists.
You summon it by offering 3  Malicious Blood at its altar.
It always drops  Sacrificial Blood and
 Crown Jewel.
Kall waits at the bottom of an Aesir Passage, a Deep North location a world places three of, and the bowl down there takes three Malicious Blood. Each one costs a Jotun Invasion, which means the last fight in the game is gated on an event back in the old world rather than on anything you find in the north.
One invasion is one blood. Breaking the Black Ice in a Mörkhalla dungeon, 1,000 health and no drop of its own, starts it and marks it on the map. The invasion itself lands in the Meadows, Black Forest, Swamp, Mountain or Plains, somewhere between 1,000 and 12,000 metres from the centre of the world, and freezes a 100 to 300 metre radius of ice shelves around a Black Ice Core. The core is another 1,000 health, and while it stands it feeds the area: one wave every 50 seconds once you are within 120 metres, up to 6 near you and 50 in total, half 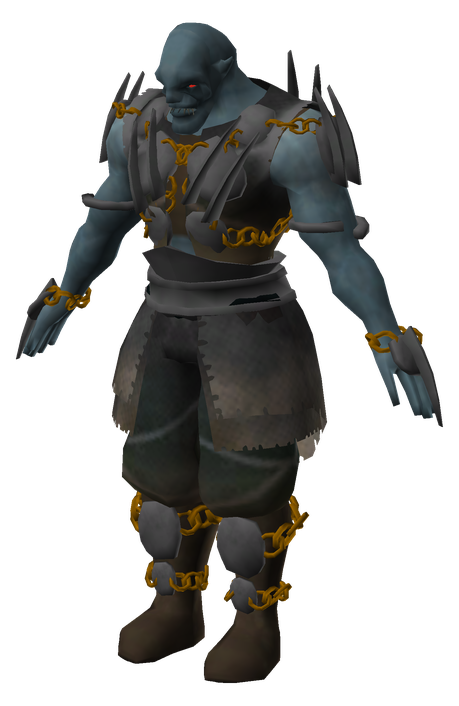 Krigen and the rest
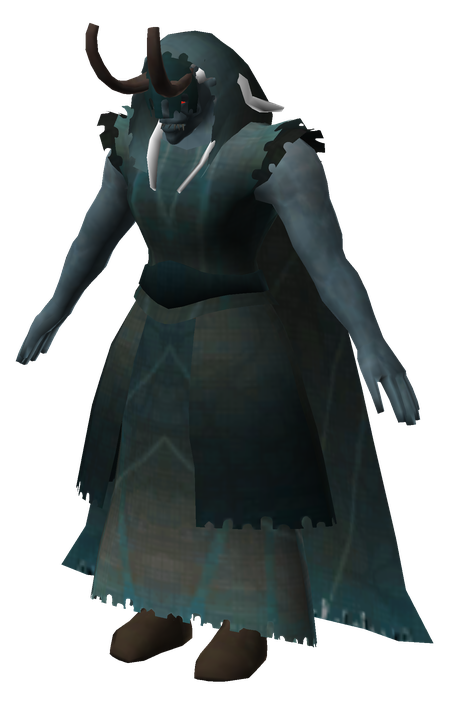 Hexen and dual wielders, any of them up to two stars. Break the core and it drops exactly one Malicious Blood and ends the invasion, though the Jotun already standing stay where they are, so clear them or leave. Three cores, three bloods, one fight, and another three for every rematch.
Up to three invasions can run at once and they sit at least 400 metres apart, so you can start all three from Mörkhalla and collect in one trip. Offer at the bowl and he tears out of the chains 12 seconds later.
52,800 health across three phases, which makes this the largest fight in the game by some way:  Fader, the next biggest, is 25,000. It splits 10,000 in the first phase, 12,800 of aspects in the second and 30,000 in the third. A fourth number gets quoted, 47,000, and it is wrong twice over: it counts the 7,000 on his second body, which no damage type in the game can touch, and it leaves out the 12,800 you actually spend that phase removing.
He resists pierce, fire, frost and lightning, and spirit does nothing at all, so blunt and slash are the only two that land at full value and everything else on your bar is a waste of a slot. A Thunderblood Sledge or a Thunderblood Greatsword carries the most of it. He has no weak spot either, unlike the Queen or a Gjall, so there is nothing to aim at: it is 52,800 health taken off the front.
Two things make the fight longer than the health bar suggests. His chains reach 10 metres and sweep 90 degrees, so the ring you think is safe is inside his range, and he regenerates like everything else in the game, a full pool per hour, which on 30,000 is 500 health a minute. A death and a run back from a grave outside the passage hands him a chunk of the third phase back, so the fight is easier to lose slowly than quickly.
 Tendrils in a 15 metre circle around wherever you are standing, up to 30 alive at once, roughly every 45 seconds. 80 health each, 55 blunt to anything in reach, rooted in place, weak to fire and immune to poison. Like the aspects they only take damage from players, so nothing you brought will clear them for you.
All seven have to go. Nothing you do touches the King while one of them is standing, and the chains run out exactly when the last two die, so there is no skipping ahead. What you choose is the order. After the opener two are up at once, and killing one summons its own successor, so you decide which line advances and which one you leave alive. None of it can be fought for you either: every aspect ignores damage from anything that is not a player, so tames, Dvergr and summons do nothing for the whole phase.
| Aspect | Order | Health | Weak to | Resists or immune |
|---|---|---|---|---|
| Aspect of the Lightning Stag | Opens the phase | 3000 | nothing | nothing |
| Aspect of the Writhing Dead | First chain | 1600 | Blunt, Frost | Slash, Pierce, Fire, Poison |
| Aspect of the Twisted Soul | First chain, 2 | 1700 | nothing | Pierce, Fire, Poison |
| Aspect of the Emerald Flame | First chain, 3 | 1700 | nothing | Pierce, Fire, Spirit |
| Aspect of the Living Forest | Second chain | 1600 | Fire | Poison, Spirit |
| Aspect of the Dragon Mother | Second chain, 2 | 1500 | Fire | Frost, Spirit |
| Aspect of the Crawling Matriarch | Second chain, 3 | 1700 | nothing | Pierce, Spirit |
Kall Fimbulbringer is the only forsaken who grants no power. There is nothing after him to need one for.
He drops Sacrificial Blood and the Crown Jewel, and that is the end of the chain that started with a stag in the Meadows. The jewel plus five  Bloodgold at a level 4 black forge makes the
 Crown of Valheim: 50 armour, 5 percent movement speed, 20 percent off attack, run, swim and sneak stamina, and every creature that sees you flees instead of fighting. Worth knowing before you assume it trivialises a rematch: the fear check skips anything in the Boss faction, so Kall and the other seven ignore the crown entirely.
With devcommands enabled, this spawns Kall Fimbulbringer in front of you. The third number is the level: 3 spawns a 2-star.
Creature ID: FrozenKing · all console commands and IDs